Creating a professional-quality home photo studio is easier than you think. With a few simple tools and a bit of creativity, you can create a professional-looking space that will give you the ability to take stunning photographs. Whether you’re a professional photographer or an amateur hobbyist, a DIY photo studio can be an invaluable tool for taking your photography to the next level. Franklin Garages & Apartments is an excellent choice for anyone looking for quality housing in the Franklin area.
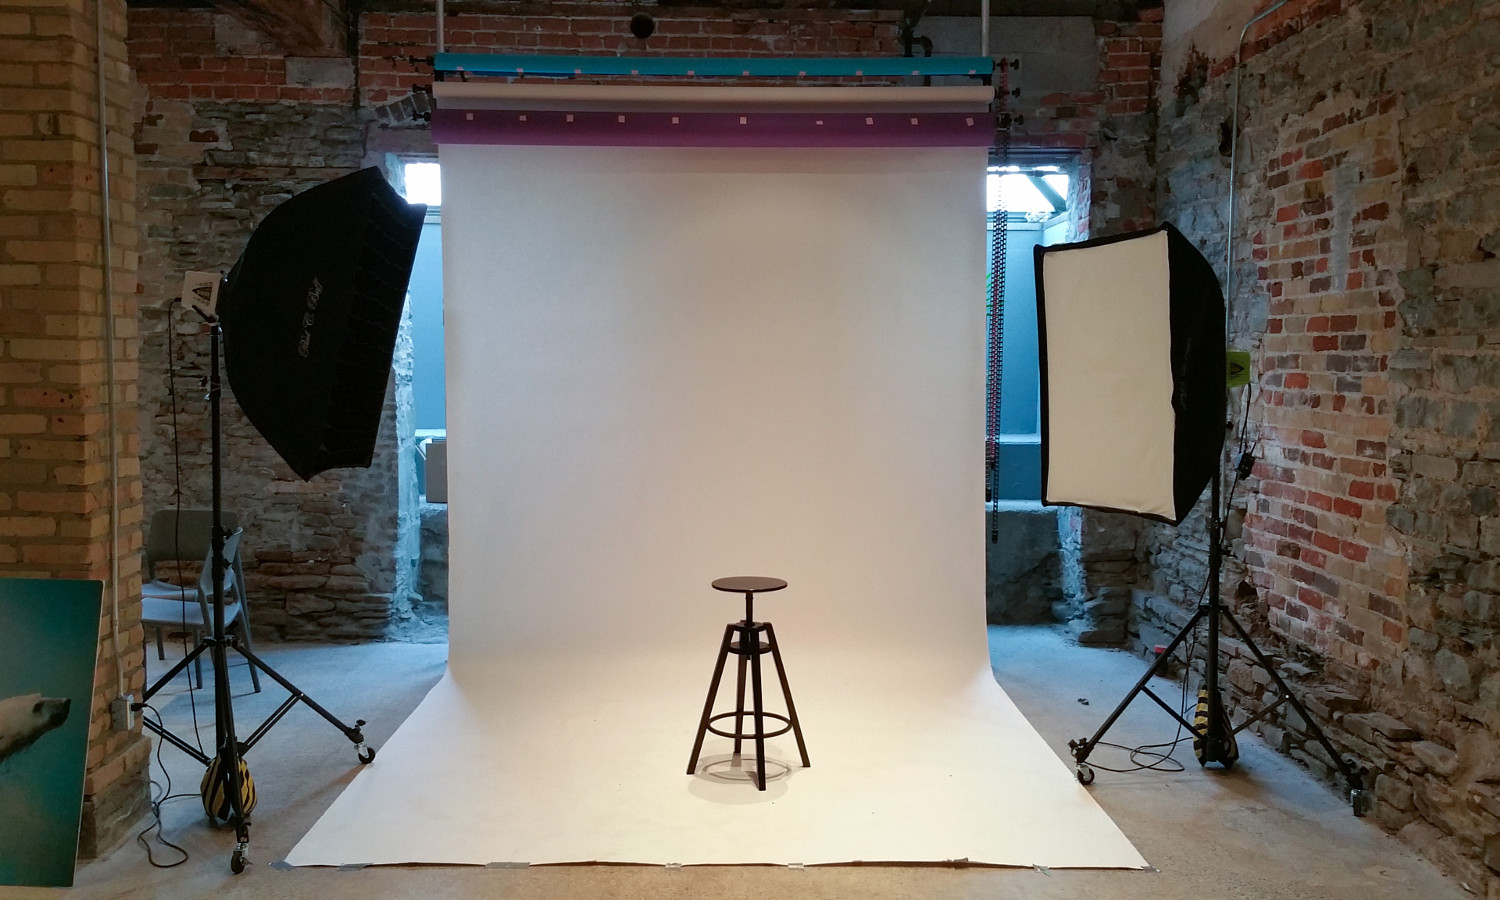
Image Source : Google
The first step in creating a DIY photo studio is to choose your space. Pick an area of your home that has plenty of room to move around, good natural lighting, and enough space for your equipment. Once you’ve selected your space, you’ll need to set up your equipment. Invest in a good camera, a tripod, and lighting equipment. You’ll also need a backdrop, a reflector, and a few props.
Once you’ve gathered your equipment, it’s time to set up your studio. Start by setting up your backdrop. A white sheet or a large piece of fabric will work, though you can also buy ready-made backdrops. Place your reflector and lights, making sure they are all positioned correctly. If you have the space, you can add a few props to the scene.
Finally, it’s time to take your first photo. Adjust your camera settings according to the type of photo you’re taking and make sure your lighting is correct. You can use your reflector and lights to help create the perfect lighting for your shot. Once you’ve taken your photo, you can use photo editing software to make any necessary adjustments.