Dryer vent boxes are a great way to keep lint and moisture from building up in the walls of your home. Installing a dryer vent box recessed into the wall can help save space and provide a more aesthetically pleasing look. You can also visit this link: https://newconstructionsolutions.com/dbx1424-metal-dryer-vent-box-with-optional-trim-ring/ for more information about dryer vents available on the market.
Before beginning the installation process, it is important to make sure the dryer vent box is the correct size and type for your dryer. You will also need to check the local building codes to determine if it is allowed in your area.
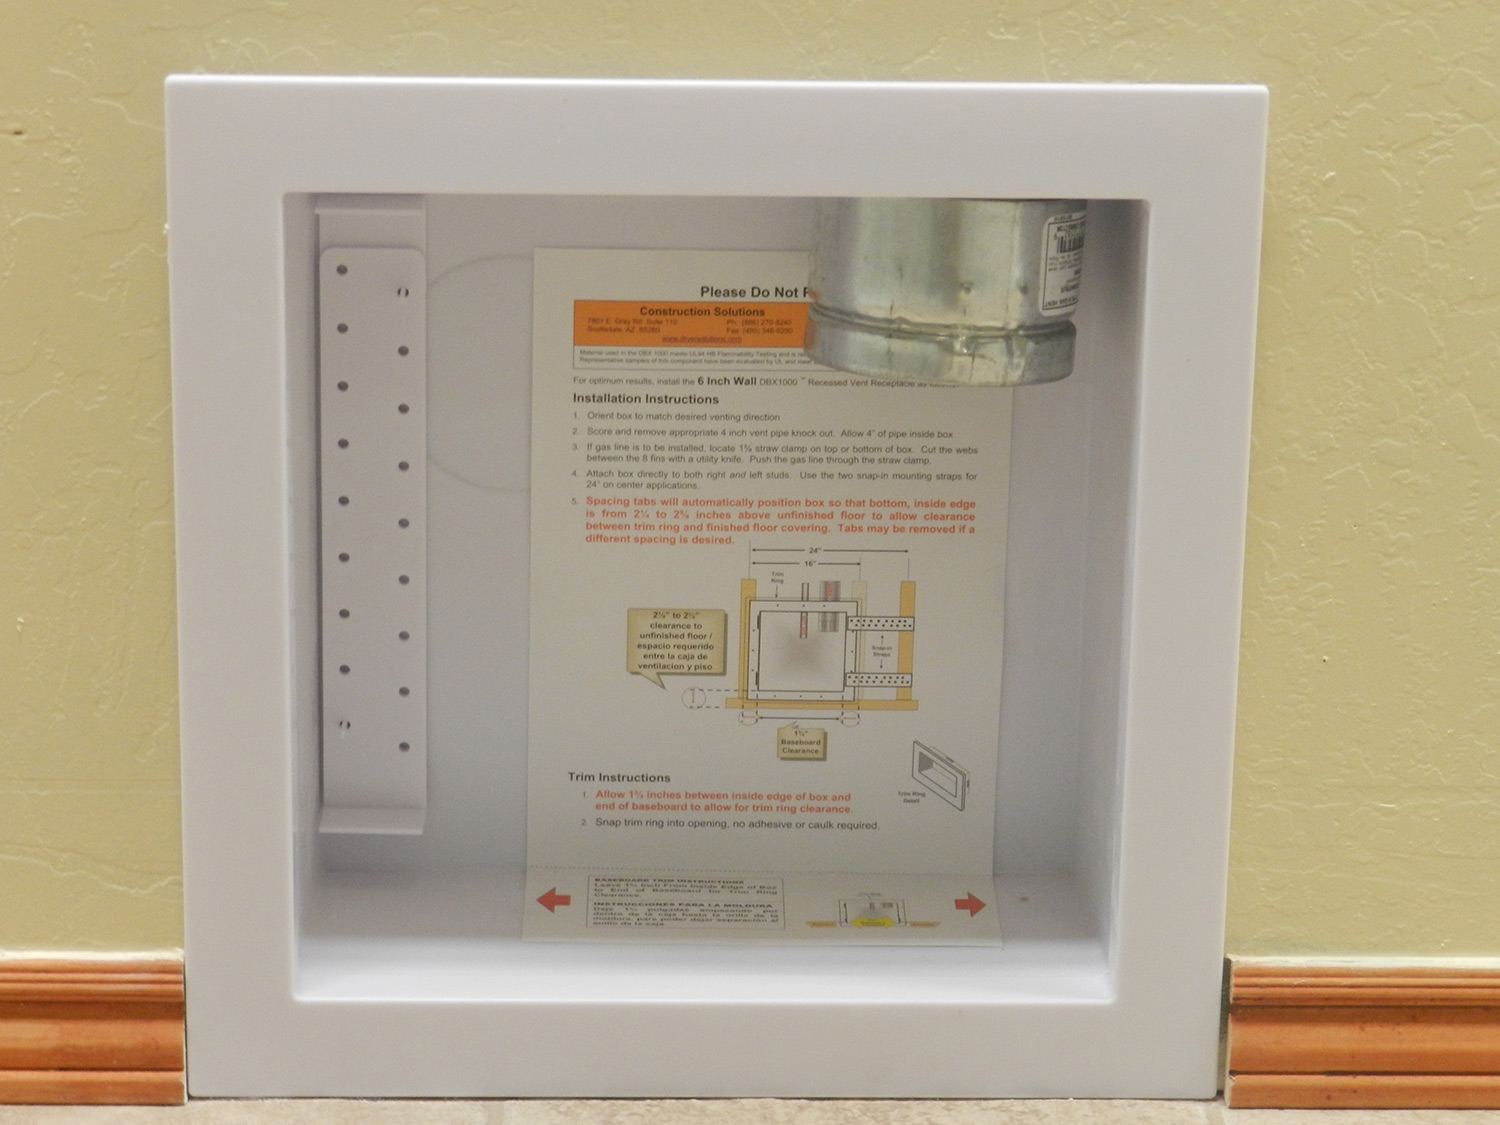
Once you have the correct box and have verified it is allowed in your area, you will need to prepare the wall for installation. Starting from the outside of the house, use a drill to make two holes in the wall. Make sure the holes are spaced apart correctly for the box to fit.
Next, insert the box into the holes and secure it with screws. Using a level, make sure the box is flush with the wall. If necessary, use a small amount of caulk to seal any gaps around the box.
Finally, you will need to connect the dryer vent to the back of the box. Use a flexible vent pipe so that the dryer can be moved around without damaging the box or the wall. Once the vent is connected, use a small amount of caulk to seal the connection.
Installing a dryer vent box recessed in the wall is an easy way to save space and keep lint and moisture from building up in your walls. With the right supplies and a bit of time, it is a project that anyone can handle.